The steps that we did was just to give permission for the PC client to access the Internet. To activate the license is done by setting up Network / Network that we have. Step workmanship is as follows:
1) Open the Network Setup Wizard found in Control Panel. Then do step
as shown. (make sure the connection to the internet in a state of life).


2) In the options select a Connection Method select the Connect Directly to the Internet
for PC servers and when do the setting on the PC Client Connect to choose Option
the internet through a residental gateway.

3) Option Here we determine the connection request which we will use
to perform dial -upto the Internet . Choose the connection that is connected to the modem.
This option does not exist at the time we do the settings in the PC Client.

4) Fill in the Computer Name as the name we have given earlier, and then fill
Computer Description if you want (Optional / not filled no effect).
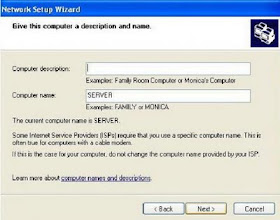
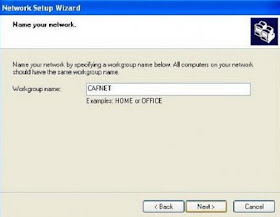
5) Fill in name of Workgroup in accordance with the name that we have set previously. Need
I remind you again that the workgroup name should be the same for all computers
for setting step easier.
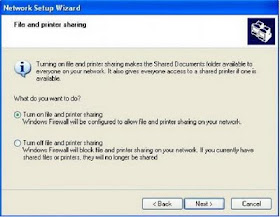
6) Choose the option to Turn On File and Printing Sharing on the next task.
7) After setting the log window we think is right click next to run /
Activate the settings that we created earlier.
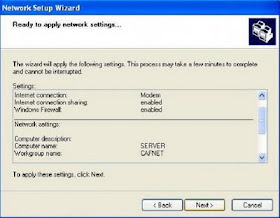
Wait a few moments until the computer is finished adjusting the settings
new.
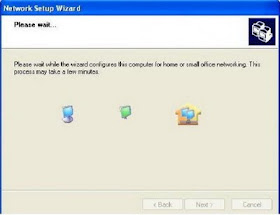
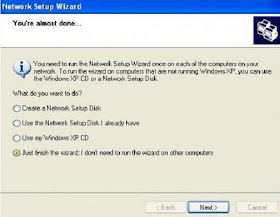
9) Select the option just finish the wizard, and then click Next => Finish. Usually the PC will automatically
reboot after completing the procedure.
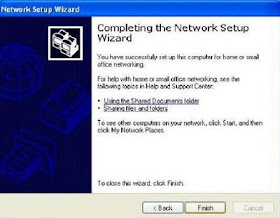
The same steps we do on all the PC Client. The differences in settings between PCs
Server and PC Client is located at point 2 and point 3.
After completing these steps on the PC Client settings do the testing
connections in the same way with the PC Server, which visited the site address that is easy on the loading and test the connection speed. When the connection is considered too slow please do check on whether there had been setting the Network Option is wrong or not, and also do checks on wiring connections a pocition whether properly or not.
Up to this step all Client PCs can connect freely to the Internet for PC Servers turn Its connection. To restrict the use of the PC Client a several options. The first is to make the list user of client computer, which users have the right to access the Internet which are not allowed to access it. Setting is usually used in offices. As for the cafe, access restrictions are usually done by installing the billing program in C Server and PC Client. For billing products in the country already have some of them are www.billingexplorer.com developer program and setting www.indobilling.com for billing purposes, please contact the developers of each.
Tidak ada komentar:
Posting Komentar